
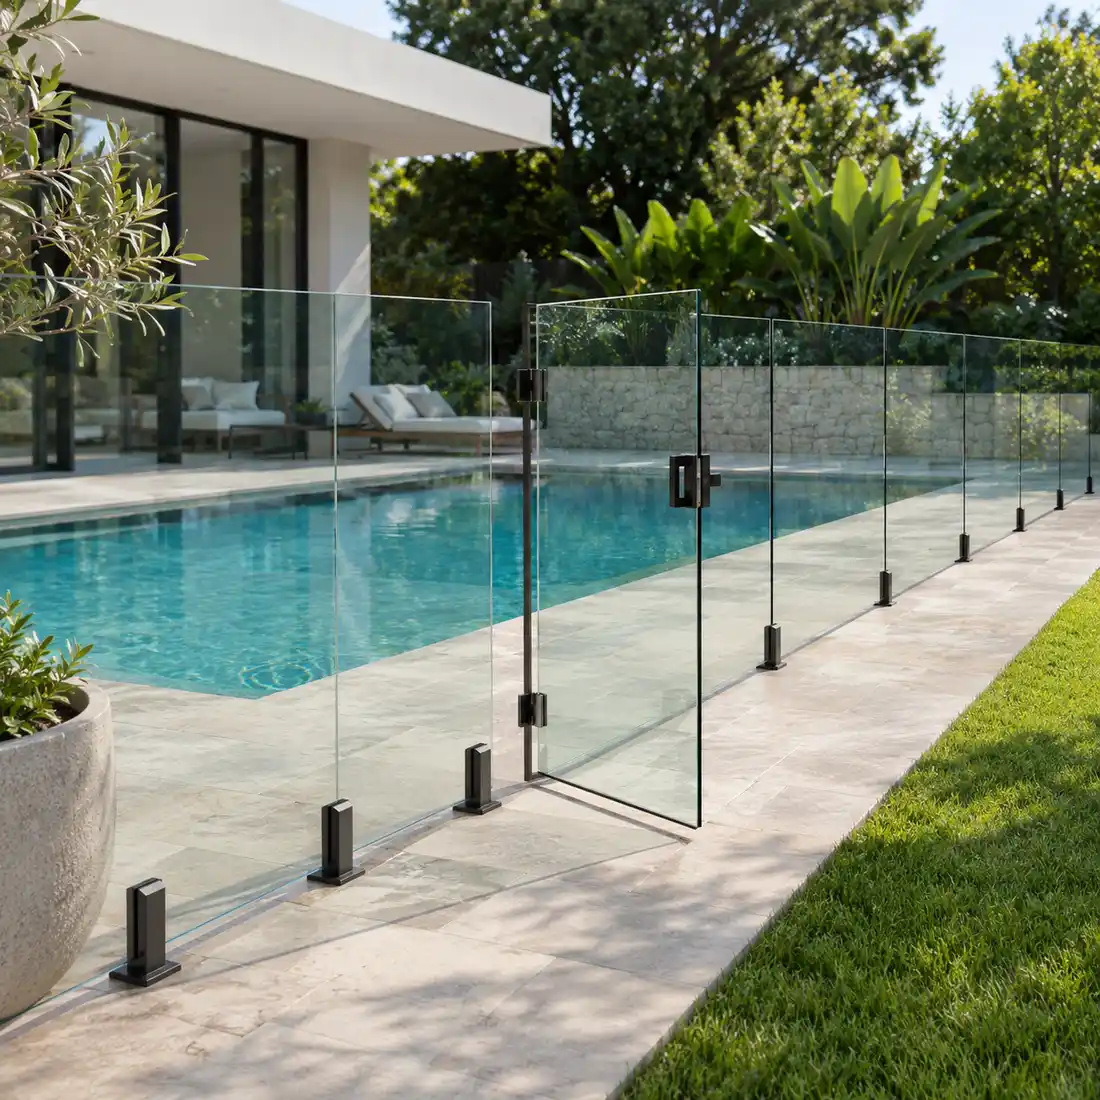
Glass Pool Fence
Glass panels and bottom supports form a customizable pool fence, with one opening glass panel for access.
Free Inquiry- Components
- Glass panels and bottom supports, including an opening panel
- Reference glass thickness
- 12 mm
- Panel sizes
- Custom height and width
- Reference spigot
- 2205 stainless steel, 240 mm high
- Glass type
- Non tempered glass; tempered glass can be requested
- Mounting
- Fixing method and surface suitability require confirmation
Product Details
A Clear View for Poolside Spaces
The fence includes glass panels and bottom supports. One section is an opening glass panel that provides access through the fence.
Glass pool fencing makes it easier to see the pool area without a solid wall interrupting the view. The panels suit projects where the owner wants the pool, garden and terrace to feel connected. The bottom spigots, or short metal supports, hold each panel at its base, keeping the upper edge visually simple.
The transparent surface does need regular attention: pool water, fingerprints and outdoor dust can leave marks. Include cleaning access in the layout, especially near plants, walls and narrow walkways.
Glass Panels and Bottom Spigots
The reference design combines 12 mm glass panels with bottom spigots designed for that thickness. Confirm these specifications for the supplied set before ordering. Each panel forms part of the pool boundary; the spigots grip and support it at the lower edge. The finished appearance depends on careful alignment of the hardware and consistent positioning of the glass panels.
The reference spigot is listed as 2205 stainless steel, with a height of 240 mm. The reference supplier lists mirror polished, satin brushed and matt black finishes. Choose the finish to complement nearby poolside hardware, while checking availability for the order. The listed height describes the spigot, not the height of the glass fence.
Stainless steel still needs cleaning and inspection in a pool environment. Splashes, deposits and trapped dirt can affect its appearance, so allow access around the fittings for routine care.
Plan Your Glass Pool Fence
Measure the route where the fence will stand, rather than the dimensions of the pool alone. Include every straight section, corner, change in level and proposed entrance. Note drains, steps, walls and other obstacles that could affect where a panel or spigot can be placed.
For a useful project enquiry, prepare:
- The length of each section and a simple sketch of the layout.
- The height you need and the panel widths you would like to use.
- Photos and details of the proposed mounting surface.
- Corner positions, any changes in level and the proposed gate location.
- The quantity, finish preference and delivery destination.
A measured layout helps establish the number of panels and spigots, how the fence turns at corners and which fittings are needed. Panel height and width can be customized; include the required dimensions when requesting a quotation.
Mounting and Installation
The reference product is described as deck mounted. The mounting surface and the structure beneath it must be suitable for the hardware and fixings selected for the project. A tiled finish, for example, does not by itself show what support is available under the tile.
The reference listing mentions installation without drilling, but does not explain whether this applies to the glass, the ground or both. Confirm the exact method and the suitability of the mounting surface before installation.
A typical project involves checking the foundation, setting out the fence line, positioning and securing the spigots, carefully placing and aligning the glass, then inspecting the completed assembly. The exact fixings, spacing, tools and sequence must follow the instructions for the supplied system and the conditions at the site. Glass panels can be heavy; use suitable lifting help and a qualified installer when needed.
Entrances and Gate Planning
Decide where people need to enter before finalizing the panel layout. One glass panel in the fence opens to provide access. Include its position, opening direction and the space needed to open it in the project layout. Check the complete installation against local pool barrier requirements.
Care and Inspection
Keep the glass clear by removing pool splashes and general dirt with a cleaning method suitable for the supplied glass and any applied finish. Avoid assuming that a coating is present. Follow the manufacturer's care guidance and check that the selected cleaner is suitable for both the glass and the metal fittings.
Inspect the spigots and visible fixings for looseness, buildup or damage. Check the glass edges and panels for damage, and check that the opening panel operates as intended. If a panel, fitting or gate is damaged, arrange assessment rather than continuing to use the damaged component.
Pricing, Packing and Delivery
The cost of a glass pool fence depends on the layout, panel sizes and quantities, spigot finish, mounting hardware, any gate and the delivery destination. A straight run and a layout with multiple corners or entrances can require different quantities and parts even when their total length is similar.
Request an itemized quotation showing the glass panels, spigots, any fixings, packing and delivery separately. Glass packing, lead time and the process for reporting transit damage need to be agreed for the order; the reference spigot listing's shipping and warranty terms do not establish those terms for a complete glass system.
A practical measuring example
Suppose the planned fence has three straight runs of 5 m, 3 m and 5 m. The total route is 13 m. Mark where the included gate will go: its width is part of that route, so 13 m is not automatically the total width of the fixed glass panels. Panel sizes, gaps and fittings must be planned for the actual site.
What to send for a useful quotation
Send a dimensioned sketch, photos of the proposed mounting surface, your preferred panel height and finish, the gate position and delivery destination. Ask for an itemized list of glass panels, bottom supports, the included gate, fixings, packing and shipping. This makes it easier to see what is included and compare the total project cost.
## Choosing and ordering
Send your layout sketch, section measurements, desired fence height, mounting surface details, finish preference and delivery destination. Include the position and opening direction of the supplied gate so it can be planned and itemized in the quotation.
Other Cover Kits
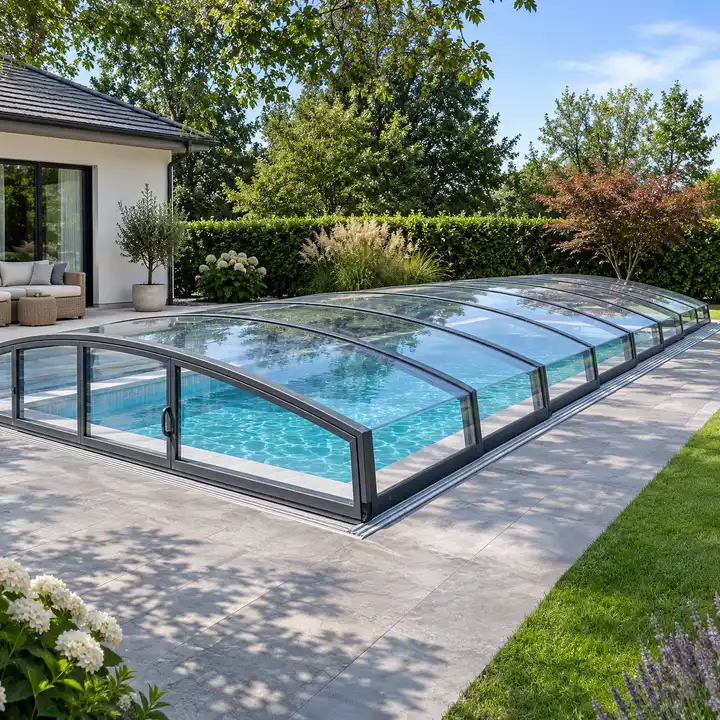
Low Profile Retractable Pool Enclosure
A low profile retractable pool enclosure gives your pool a clear cover while keeping the structure relatively close to the water.
View Details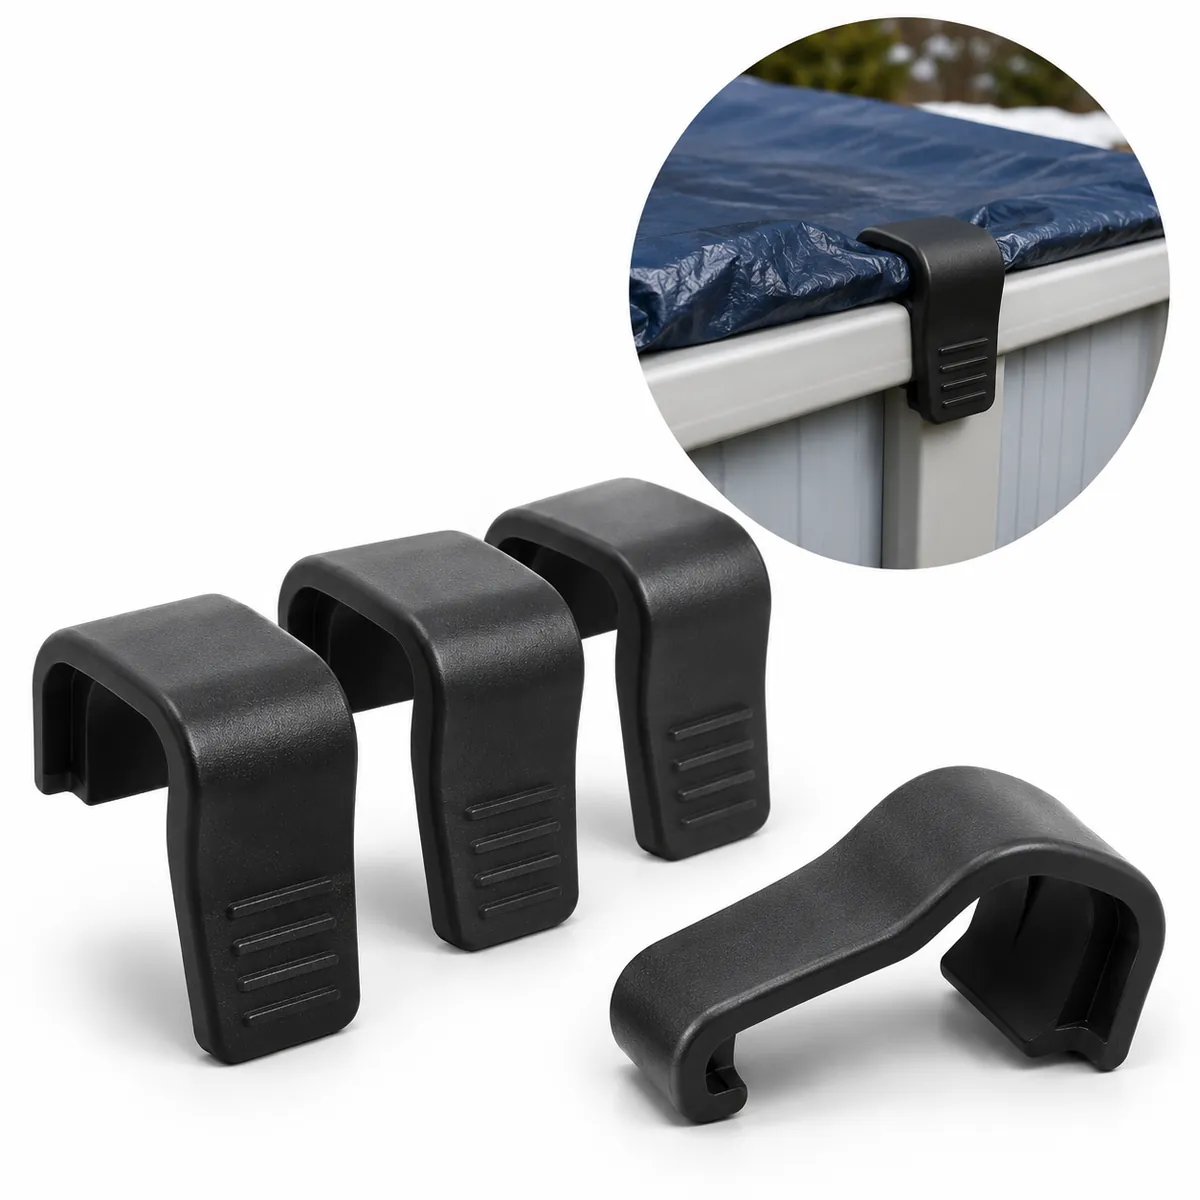
Pool Cover Clips for Swimming Pools
Clips intended to help secure a pool cover.
View Details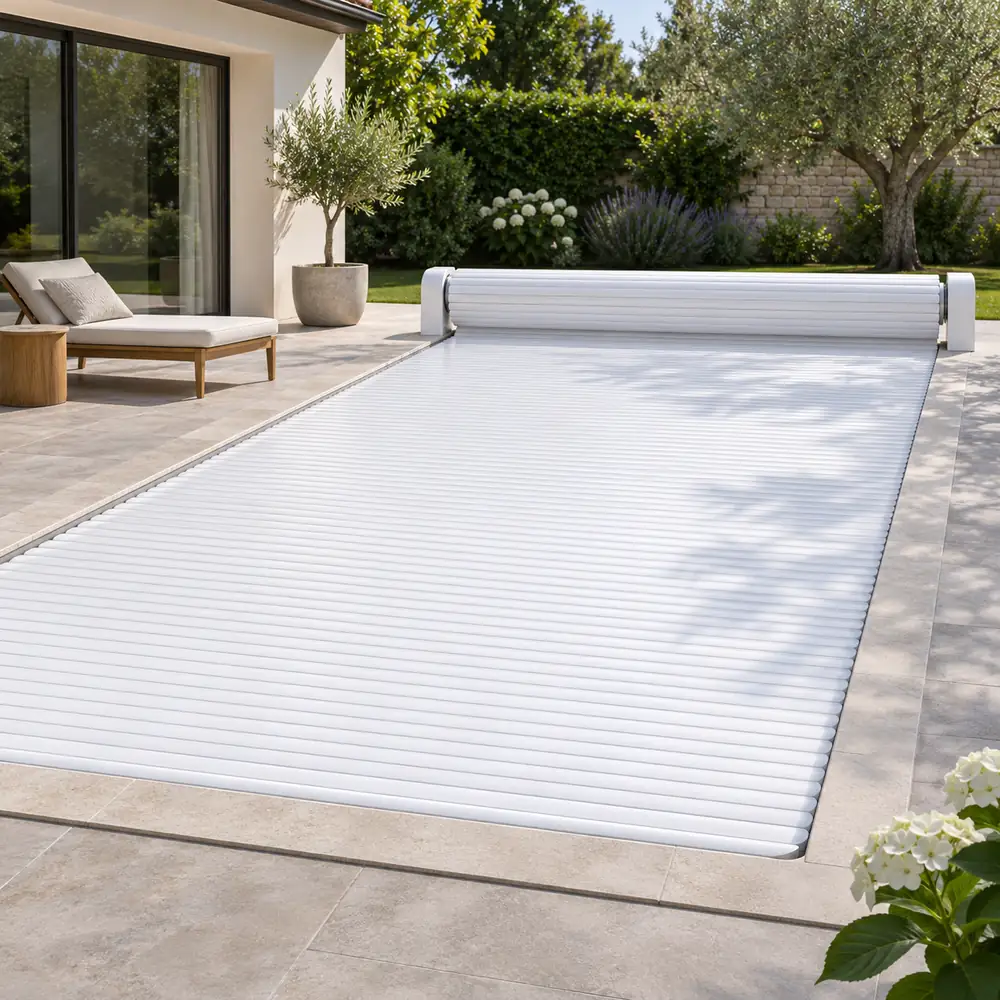
Slatted Pool Cover with Polycarbonate Slats
A pool cover made from connected rigid slats.
View Details